Fine-tuning the symmetry
A zero-wind single line kite, while performing a straight flight upwards, relies in particular on its perfect symmetry. That's why the setup of your symmetrical kite is important, for floating with a short line as well as for high flights.
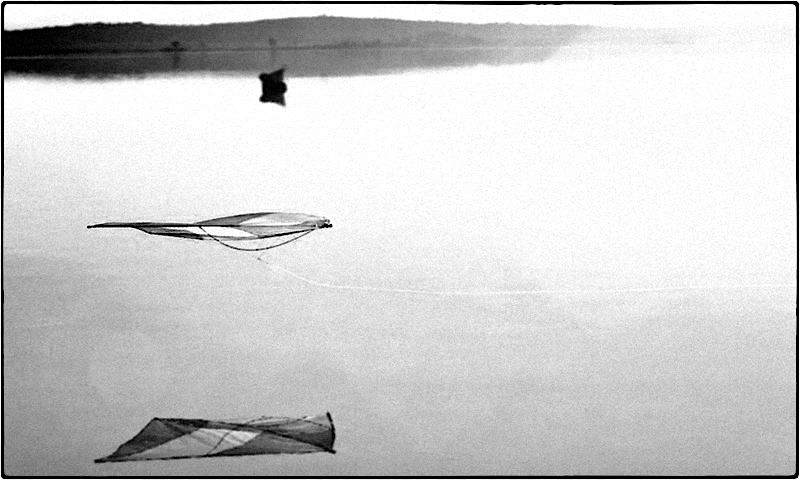
We are going up well balanced: Unlike dual line stunt kites or quad line kites like the Revolution, our active single line kites rely on their ability to perform a straight flight upwards. They must be constructed very symmetrically for that and have to be set up with an adequate symmetry. There are a few possible dissymmetries:
Frame
Pultruded carbon tubes and wound fiberglass rods are rarely exactly straight and have sometimes a stiffer and a softer side, depending on the quality of the product. Turning the tube in the leading edge or e.g. the spreader, you will feel how the spar will jump into a preferred longitudinal position. The skyshark 2pt's used on "the long way home" are straight and pairwise balanced, you can ignore them here.
Though we are cutting the respective left and right parts of our kites out of the same blank, it can occur at building up the kite for a flight, that both sides act exactly to the opposite way: e.g. left all the tubes are in their strong attitude, while in the right wing all of them happen to reside in their weaker position. This results in a stronger, faster side of the kite, often accompanied by increased lift, while the opposite side of the sail will be looser, thus softer and slower.
What to do
In most cases, it's good enough to shake the kite resolutely before you are starting, and the framing in the leading edges will jump into its lowest-force attitude, particularly in the long wings of kites with a high aspect ratio. This is a part of the standard start check.
Sail
Except for The urban ninja and other delta shapes (which have virtually almost no wings), the wingtips contribute a lot to the aerodynamic symmetry. They are far away from the center (of mass or aerodynamic) and act as a long lever on the axes of the kite. After building up the kite or by a wingtip contact with the ground, one wingtip can be deformed, it will show downwards or upwards, while the other side is still in the x-y-plane of the sail.
The deformed side of the kite will fly slower and will produce an unwanted momentum around the z-axis of your kite.
What to do
Smooth out both wingtips by hand, or tighten the sail in flight with a couple of sharp impulses, which should straighten the wingtips (that's why we terminate the wingtip rods with low friction end pieces). This is a part of the standard start check also.
Weight
Again, the far abroad wingtips act dramatically, when they are out of balance in weight. There are 2 possible reasons: water and sand. Condensed water in the evening or rainwater is running down in the leading edge and accumulates in the waterproof tip.
At the beach, sand penetrates through the leading edge openings and will also, unfortunately, move downwards to the wingtips and act as disturbing ballast. All these processes occur more often asymmetrically than not.
What to do
Our sail skins Icarex and Dyneema-Laminates are quasi vapor-proof and it can take a long time until a leading edge, which is wet inside, will be dry.
The small hole at the very bottom of the wing tip allows for some air circulation and lets water leave the leading edges quite efficiently. And sand can be removed by a little shaking in flight or with the vacuum cleaner at home.
Tolerance
For all our synergetic kites, symmetry issues become less critical with a looser sail (shorten the y-line) and a rather heavy bridle setting (bridle point towards back). Such a setup also extends the wind range by making the kites more stable for static flights in stronger winds.
High flights
The ultimate and simple action to increase any tolerance is the Stabilizer™ for a couple of our kites. A must for high flights in stronger winds with the "de tomaso" series or the "urban ninja".
Test flight
Before starting a high flight, I like to make a short standard start check: I verify the symmetry of the kite, examining the overall geometry and the lines viewing from the front (nose pointing at me) and from the tail side. Then the to-do's mentioned above and up into the sky for a short test flight with a high launch, trying to perform it as straight as possible.
Now, I like to stop for a short while, maybe laying out more line a bit better sorted on the ground, to take off without any trouble and enjoy the high flight.
Side note
For a short floating around in everyday life, e.g. with the "superleggera" or the "i'll be back", these checks are usually not even necessary. But for very high, extended and long flights the checks are more than useful.
Something completely different, exactly the opposite, but fascinating:
On the art of asymmetric kites. Istvan Bodozcky from Hungary made asymmetrical kites for many years, using simple materials like paper, wood and split bamboo. Once upon a time, there used to be this book: Istvan Bodozcky: Hidden Symmetry, published by "the Drachen Foundation". If you want to take a look inside, you are welcome to do so in our atelier. Istvan Bodozcky died in the fall of 2020.